INTELLIGENT SOFTWARE DESIGNED FOR LOCATION BASED VR ENVIRONMENTS.
Contact us:
TEL: +086-010-50951355 / FAX:+86-010-50951352
Email : cathy@souvr.com / Frank@souvr.com / Robin@souvr.com / sales@souvr.com
Details
Related
Consulting
※Product Overview※
INTELLIGENT SOFTWARE DESIGNED FOR LOCATION BASED VR ENVIRONMENTS.
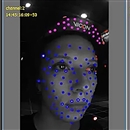
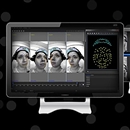
Evoke is intuitively designed for Origin, which brings together the best of Vicon tech to create unrivaled full body immersive experiences.
The highly automated platform offers full control, real-time best tracking on the market* and quick player turnaround. Now with ‘Headless Mode’, plus a fully featured command and control API, to interface with custom-built host applications.
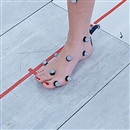
Origin delivers the most natural and fluid user experience with accurate movement and positional tracking working seamlessly with the virtual world.
Power projects of any scale or complexity with fast and easy set up and the intelligence and intuition to handle unlimited tracking in real time. Contact us to get the most out of your kit.
CONNECTING
WORLDS
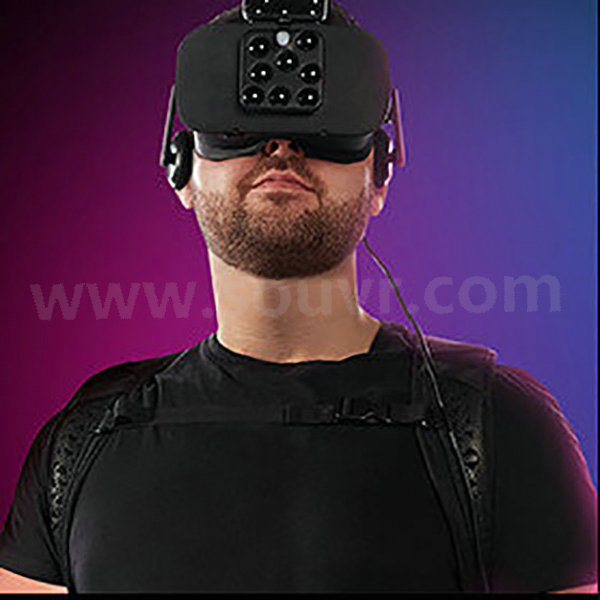
Seamless game-engine integration

Seamless game engine integration provides solving within the game engine, with retiming for smooth tracking, with low latency and reduced lag.
Characters from clusters

Unlimited full body movement tracking of fully solved characters.
Quick set up

Intelligent new tracking panel for pre-made object templates for HMD’s and props for quick set up.
System AutoHeal

Automatically repairs camera calibration with active data for consistent and precise tracking.
TECHNICAL INFORMATION
What is the recommended PC specification to run my Vicon Evoke System?
Vicon recommends the following three specifications for use with your Vicon Evoke System. If you are using an older version of Vicon software, please contact Vicon to ensure there are no issues or driver limitations if you are upgrading your PC. Your choice depends on your application requirements and the size of your system.
Please note the following:
• Windows 10 (64bit) Tested and Supported OS
• .NET Framework 4.5 above
• GeForce 1050Ti Tested and Supported Graphics Cards
• INTEL ETHERNET i350/i340 T4 SERVER ADAPTER RJ45 PCI−E and INTEL ETHERNET i210−T1 GBE NIC Tested and Supported Network Cards (NIC)
• Samsung SSD 850 EVO 250GB – Tested and Supported

Advanced PC Minimum specs include:
mATX 4 drive bay chassis
INTEL® CORE™ i9-7900X PROCESSOR
Corsair Hydro H100i Cooler
32GB (2x16GB) 2666MHz RAM
GeForce 1050Ti
2 off 250GB SSD Boot Drive Read 530MB/s
1 off 3TB WD Black 7,200RPM HDD
650W 80 PLUS Platinum PSU
Asus X99 MOBO
1 off 4 Port Intel I350-T4 Gigabit network Card 64 bit Windows 10 operating platform
Advanced dual video PC Minimum specs include:
mATX 4 drive bay chassis
INTEL® CORE™ i9-7900X PROCESSOR
Corsair Hydro H100i Cooler
32GB (2x16GB) 2666MHz RAM
GeForce 1050Ti
2 off 250GB SSD Boot Drive Read 530MB/s
1 off 3TB WD Black 7,200RPM HDD
650W 80 PLUS Platinum PSU
Asus X99 MOBO
1 off 4 Port Intel I350-T4 Gigabit network Card
64 bit Windows 10 operating platform
Advanced quad video PC Minimum specs include:
mATX 4 drive bay chassis
INTEL® CORE™ i9-7900X PROCESSOR
Corsair Hydro H100i Cooler
32GB (2x16GB) 2666MHz RAM
GeForce 1050Ti
3 off 250GB SSD Boot Drive Read 530MB/s
1 off 3TB WD Black 7,200RPM HDD
650W 80 PLUS Platinum PSU
Asus TUF X99 MOBO
1 off 4 Port Intel I350-T4 Gigabit network Card
1 off i210 NIC
64 bit Windows 10 operating platform
How do I set up my network card?
1. Open the Network and Sharing Center and navigate to Change Adapter Settings. Vicon Vantage/Vero cameras are designated to one port. For each Vue (or Bonita Video) camera connected, there will be additional network port used.
2. Right click on the proper port and go into the Properties. The Local Area Connection Properties window will open. Make sure only Internet Protocol Version 4 (TCP/IPv4) is selected.
3. Select Internet Protocol Version 4 (TCP/IPv4) from the list and select Properties to assign the proper IP address.
a .Vantage/Vero cameras will have the following IP Address: 192.168.10.1 and Subnet Mask of: 255.255.255.0
b. The first VUE camera will have the following IP Address: 192.168.10.2 and Subnet Mask of 255.255.255.0
c. Any additional VUE cameras the last IP value is incrementally increased by one. For example, the second VUE camera will be 192.168.10.3.
Select OK to close out of the Internet Protocol Version 4 (TCP/IPv4) Properties. And OK again to close out of the Local Area Connection Properties. This will make sure all changes have been saved.
4. Feel free to rename the network port so it is easily identifiable. Such as ViconMX, VUE1 or VUE2
For further assistance please refer to the Configuring Ports section of the PCSetupforViconSystems.pdf found in Downloads > Documentation


